Fiber optics sculptures
Light input, light output
I've been fascinated by the analog interaction potential of fiber optics for a while. End-glow fibers transmit light from one end to the other. For data transmission or for light installations.
Mostly they are used with artificial light sources. But there are also some fabricators out there using optical fibers to create the illusion of translucent building materials.
What I am experimenting with here is to create non-intuitive connections between light input and output, to allow for explorative play.
input →
→ wiring →
→ output
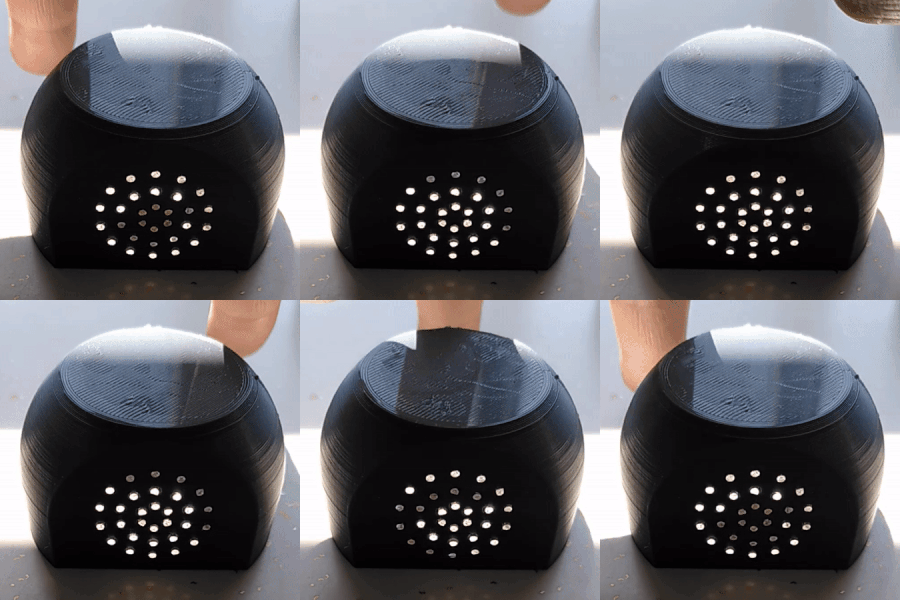 The light output points are on a flat surface, to ensure that that surface can be in the shade for best contrast, while the rest of the object faces the sun.
Different 3d-print designs
Using OpenSCAD to design the 3D-shapes, it was easy to experiment with different geometric designs by building them with code, and then being able to regenerate files with small parameter changes. For example, I settled on a certain wall thickness that would give the fibers a solid hold (they are just press-fit into the 3d-printed openings). And I tried to group the sun input points tightly together, so they are easily covered by fingertips.
Manual 7-segment light display
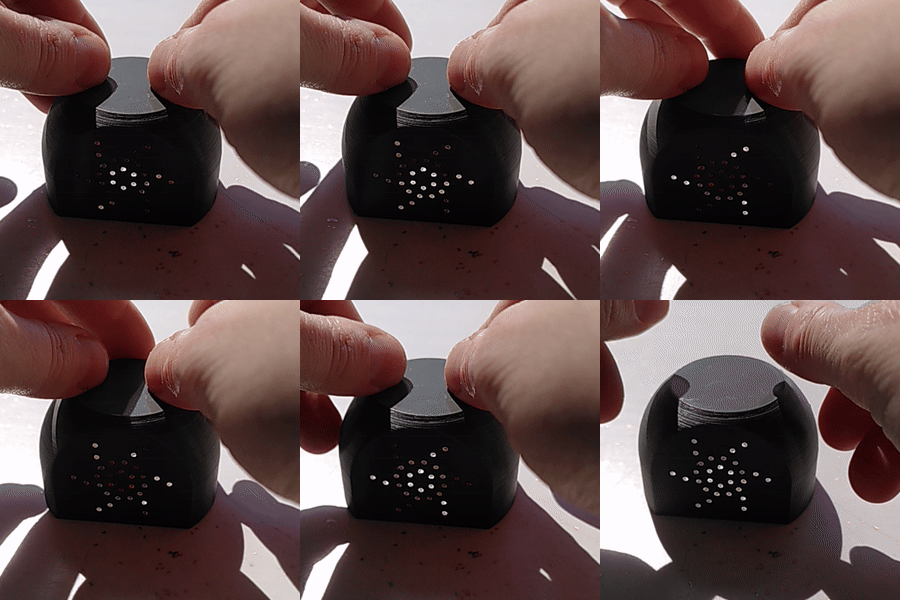
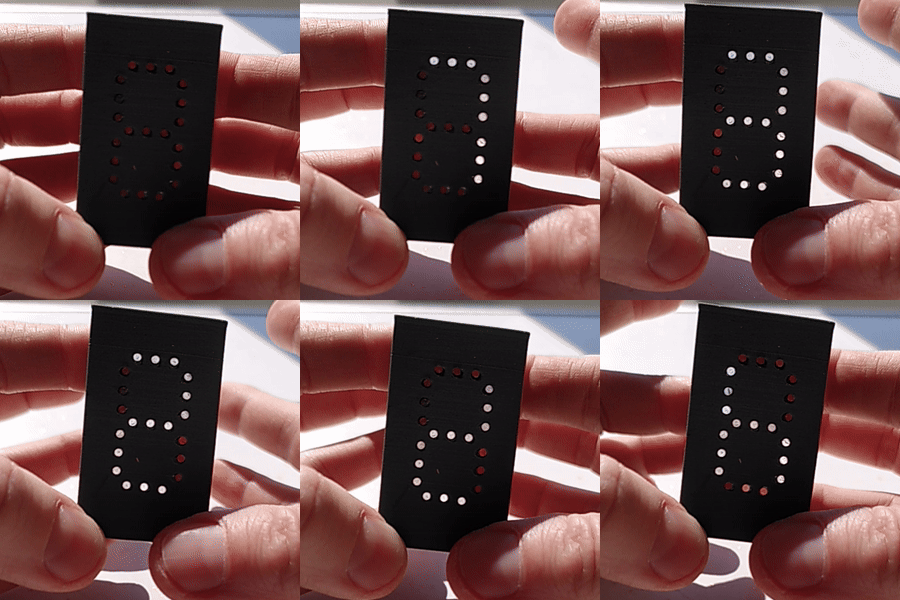
It is quite natural to cover and uncover the light input dots with your fingers, using them like buttons. Inspired by ocarina and similar handheld small instruments, I pushed this idea further with a design that's basically a manual 7-segment light display.
Interacting with it and trying to light up the correct patterns for digits, is an interesting finger-brain-coordination challenge.
Now let's make them out of wood
The plan was always to maybe make these objects out of a more natural material than 3d-printed plastic. I went looking for off-the-shelf hollow wooden objects (salt jars? diy matryoshka dolls?) but none of them fit my requirements. I realized I would have to make them myself.
That's when I started looking and saw that the fab-lab at the Montreal library had a desktop CNC-mill (Roland MDX-50)!
I took my 3d-design and learned how to create the cut-paths in VCarve (while also exploring Fusion 360). There was a bit of a learning curve - or rather patience curve - because while 3d-printing is pretty easy, CNC-milling from different sides and with different tools offers new challenges. The two cuts (one from each side) also took quite a long time, because I chose to cut a cherry-wood, which is rather on the hard side.
Replicating a 3d print
Besides the full sphere top, the shape cut out of wood is the same as those of the 3d-printed sculptures. I also decided to replicate a light-dot pattern, to have a direct comparison.
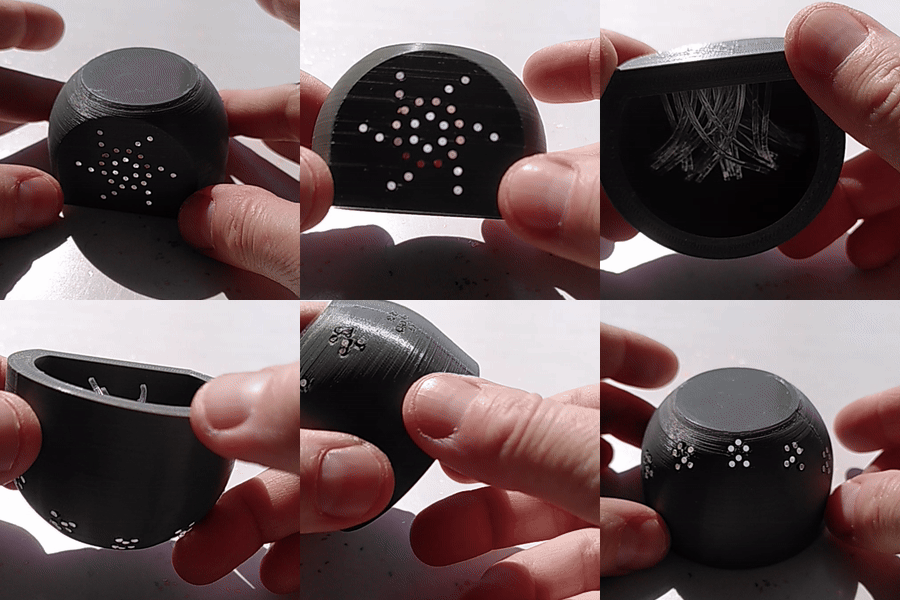
The photo collage on the left shows the various production steps to get there.
- Cut out from support structure
- Cut and sand off remnants of support
- Trace and transfer light dot pattern with a pin tool
- Start holes with hand-drill
- Drill holes with dremel
- Add optical fibers
Typically when you do two-sided cuts, you end up with support tabs, that you then can chip off to free your object. I ended up with a whole support layer due to some mistakes, as you can see in the pics below. But it was thin enough to not be an obstacle.
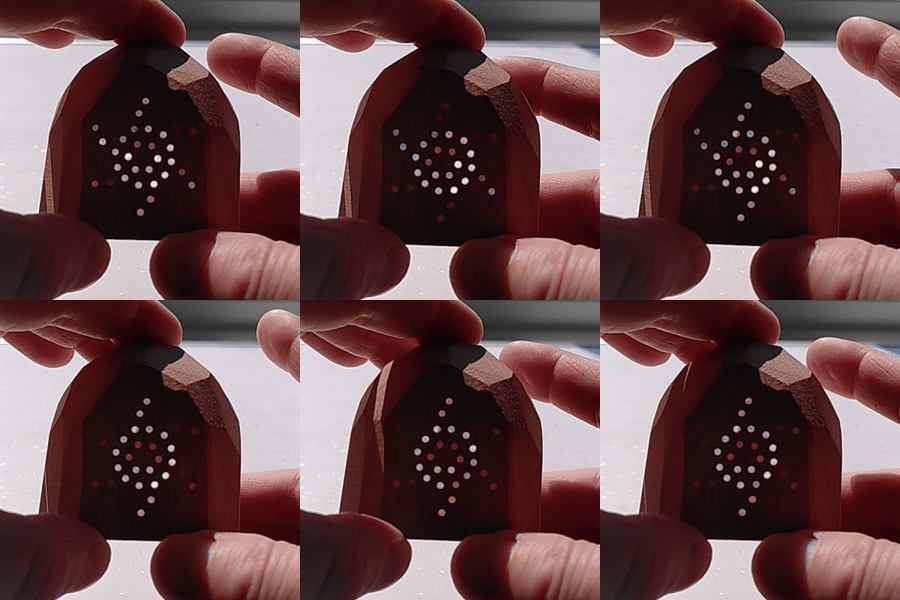
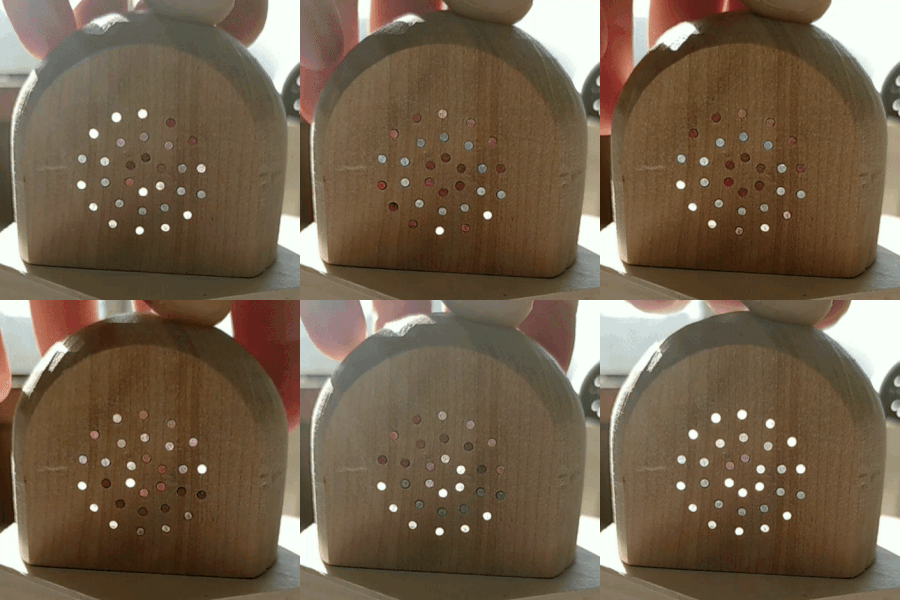 You can see the slight red-tinge of some of the shaded light dots. That's from the sun lighting up my fingerstips red. The fibers obviously also transmit light colors.
Turning to wood turning
I was pretty proud of my CNC-cut piece, but the time it took to get it cut was considerably too much. So it felt like time to visit Les Affûtés, a Montreal haven for woodworking workshops, and I did an introductory class to woodworking. After that I returned multiple times to use their woodshop and their lathes, drill-presses and sanding-machines to explore different shapes.
- CEDAR SPANISH (cedre) 600
- CHERRY (merisier) ~1150
- JATOBA (brazilian cherry) 2690
- BLOODWOOD (Satine Rubane) 2900
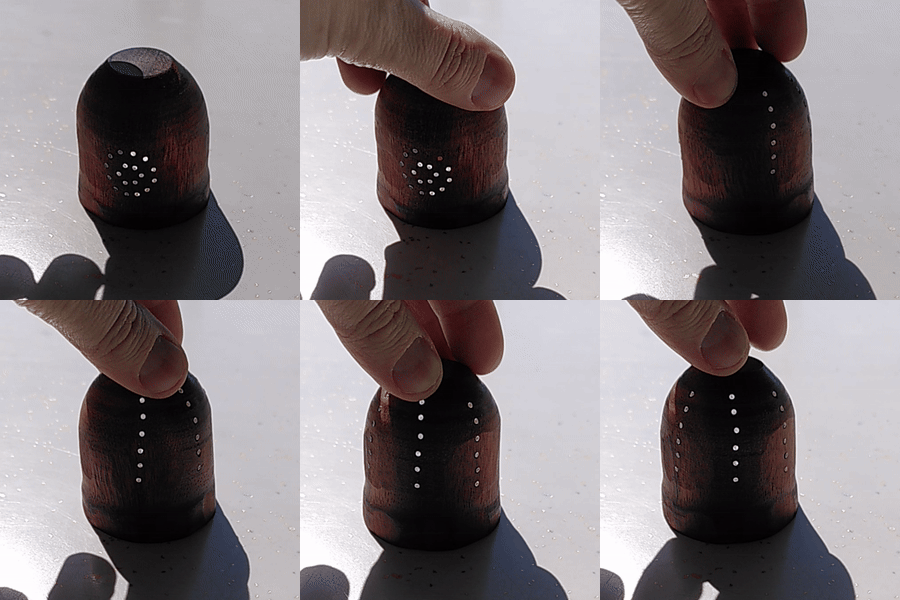
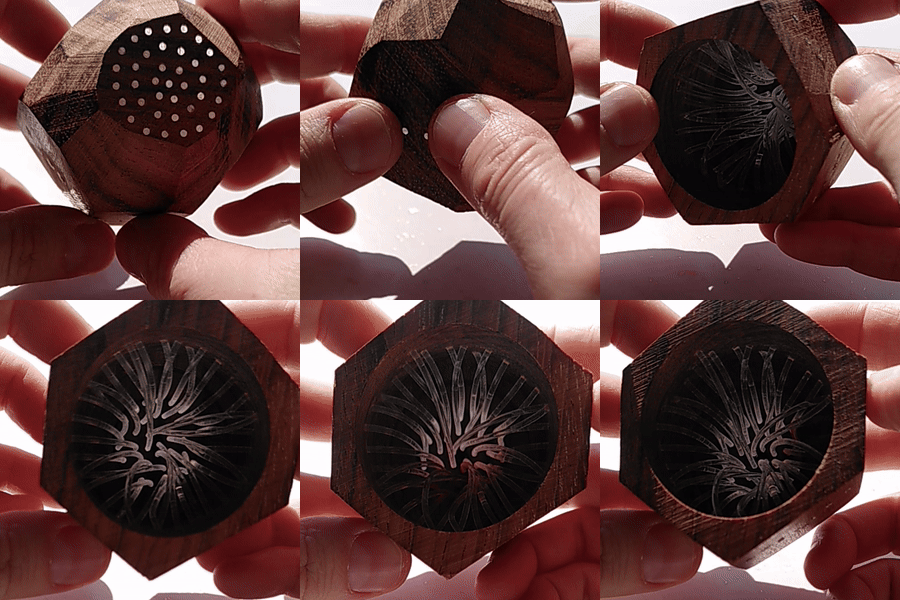 That see-through effect :)
